Adding Columns
When you add a List or View section, only the Name column is displayed by default. You can modify which columns are displayed by Customizing the List/View.
- Click on the Settings icon (gear) at the top right of the List or View.
- Select Customize.
- Click on the Plus sign at the far right of the formatting bar.
- The Add Column window will be displayed. By default, you will see attributes, metrics, and roles of the work item included in the List/View. To view attributes, metrics, and roles of an ancestor item, change the Context at the top of the window.
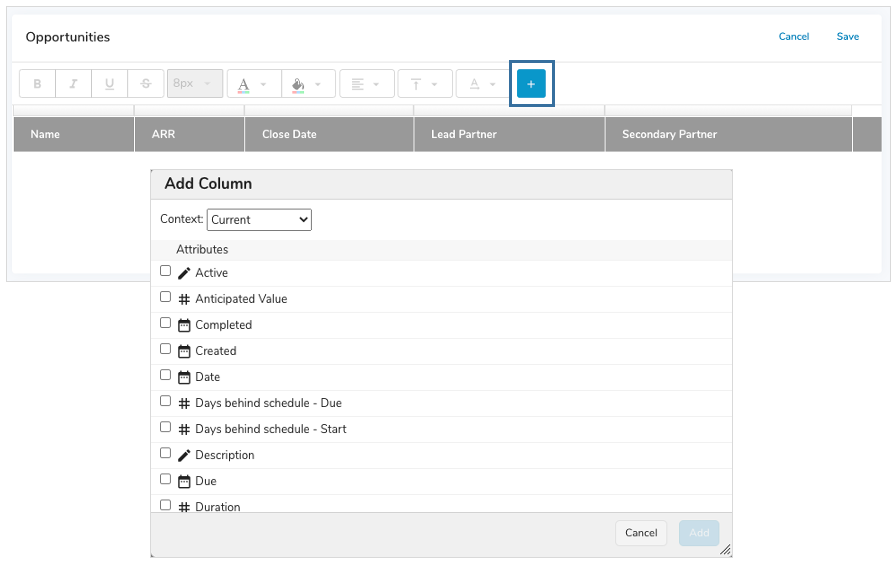
- Select the check boxes to the left of the attributes/metrics/roles to add them as columns.
- Click the Add button.
- Save the section.
Note: The order of your selections dictate the left to right order of the columns. You can also re-order the columns once they have been added.
Formatting Columns
Format list/view columns by clicking on the Settings icon (gear) at the top right of the section and selecting Customize.
The formatting options are displayed above the columns. You can format the column header and/or the full column.
- To format the full column, click on the Column Selection Bar. Column widths can be set using pixels when the Selection Bar is selected.
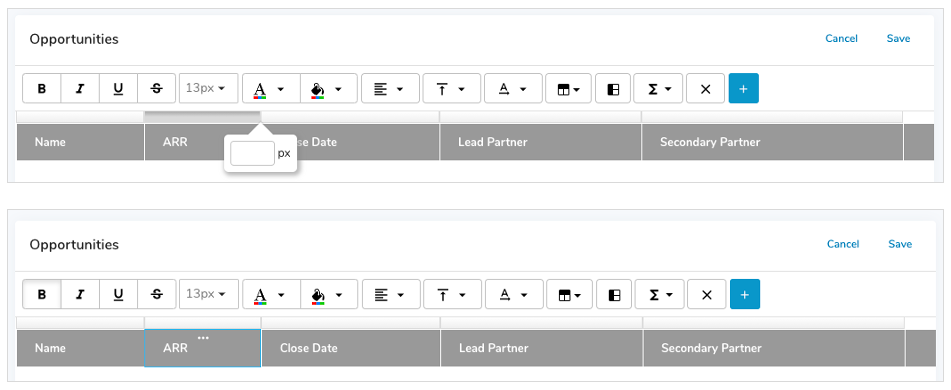
- To format the header, click on the header cell or on the header selection ellipses.
- Click on the formatting option to apply your selection.
- Save the section.
Notes:
- You can multi-select adjacent columns by selecting the first column, holding the <Shift> key down and dragging to select additional columns.
- You can multi-select non-adjacent columns by selecting the first column, then holding the <Ctrl> key down while clicking on other columns.
- When a new column is added, it will inherit formatting settings from the right most column.
Configuring Metric Columns
Metrics included in a List or View have a variety of configuration options available.
- To format a metric column, click on the header cell or on the header selection ellipses.
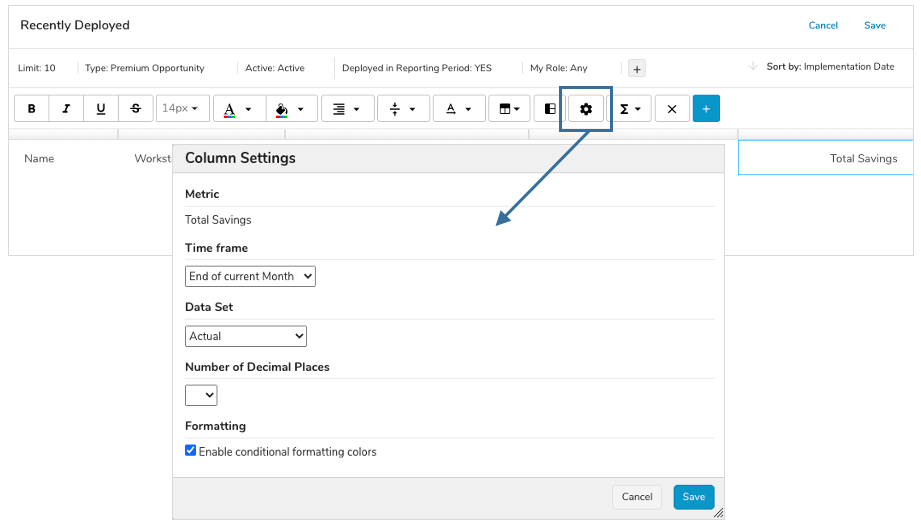
- Click on the settings gear to open the column settings dialog.
- Metric: The metric name is listed.
- Time frame: Choose the metric time period to display.
- Data set: Select the data set to display in the column. Data sets enabled at the app level, as well as the 5 out-of-the-box calculated options, are available.
- Number of decimals: Determine the number of decimal places to display.
- Formatting: Enable/disable conditional formatting colors. (Note: only the Actual data set will display conditional colors in Lists/Views.)
- Save the dialog.
- Save the section to save all changes.
Renaming, Re-Ordering & Removing Columns
After columns have been added, you can rename re-order, and remove columns by selecting to Customize the List or View.
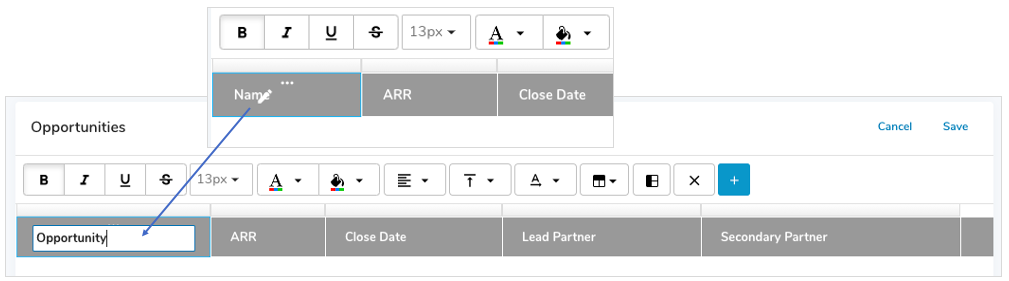
To Rename
- Click on the Edit icon when you hover over a column.
- In-line edit the column name.
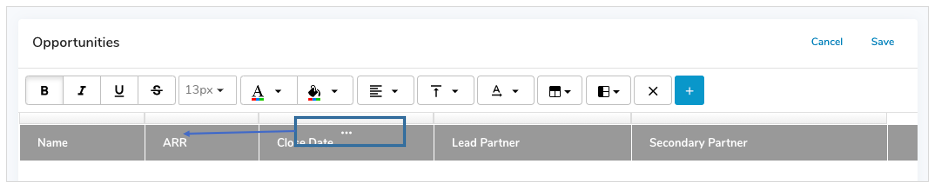
To Re-Order
- Click on the header selection ellipsis of the column to be moved.
- Drag the column to the desired location.
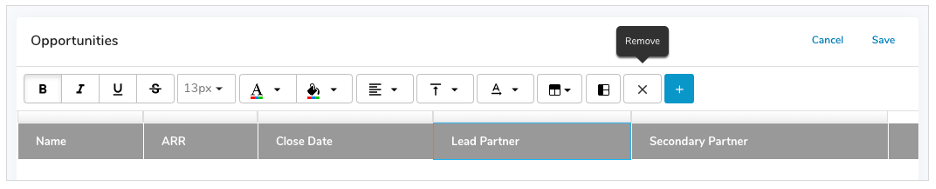
To Remove
- Click on the header cell or header selection ellipses of the column to be removed.
- Click on the “X” in the formatting options bar.