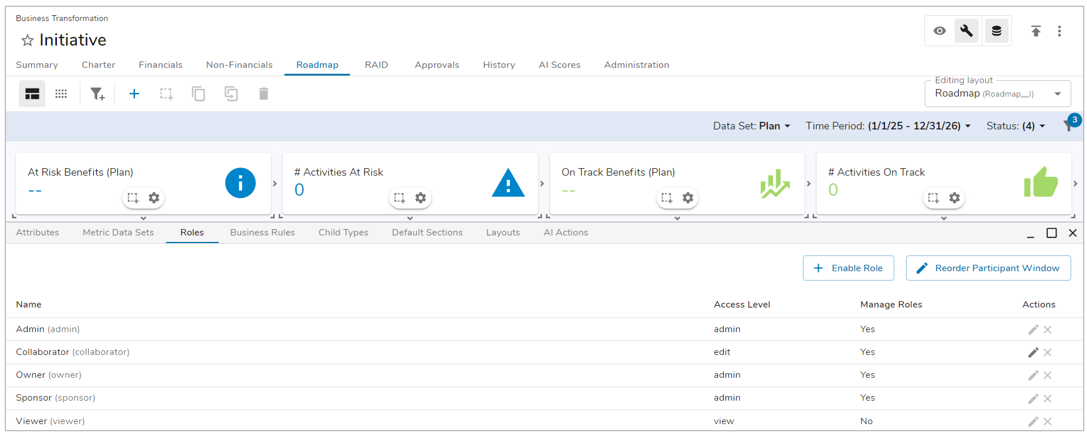
To disable/enable roles available on a template, open the Data panel and select the Roles tab.
- The original Shibumi roles (Admin, Owner, Sponsor, Collaborator, Viewer) are enabled by default and cannot be disabled.

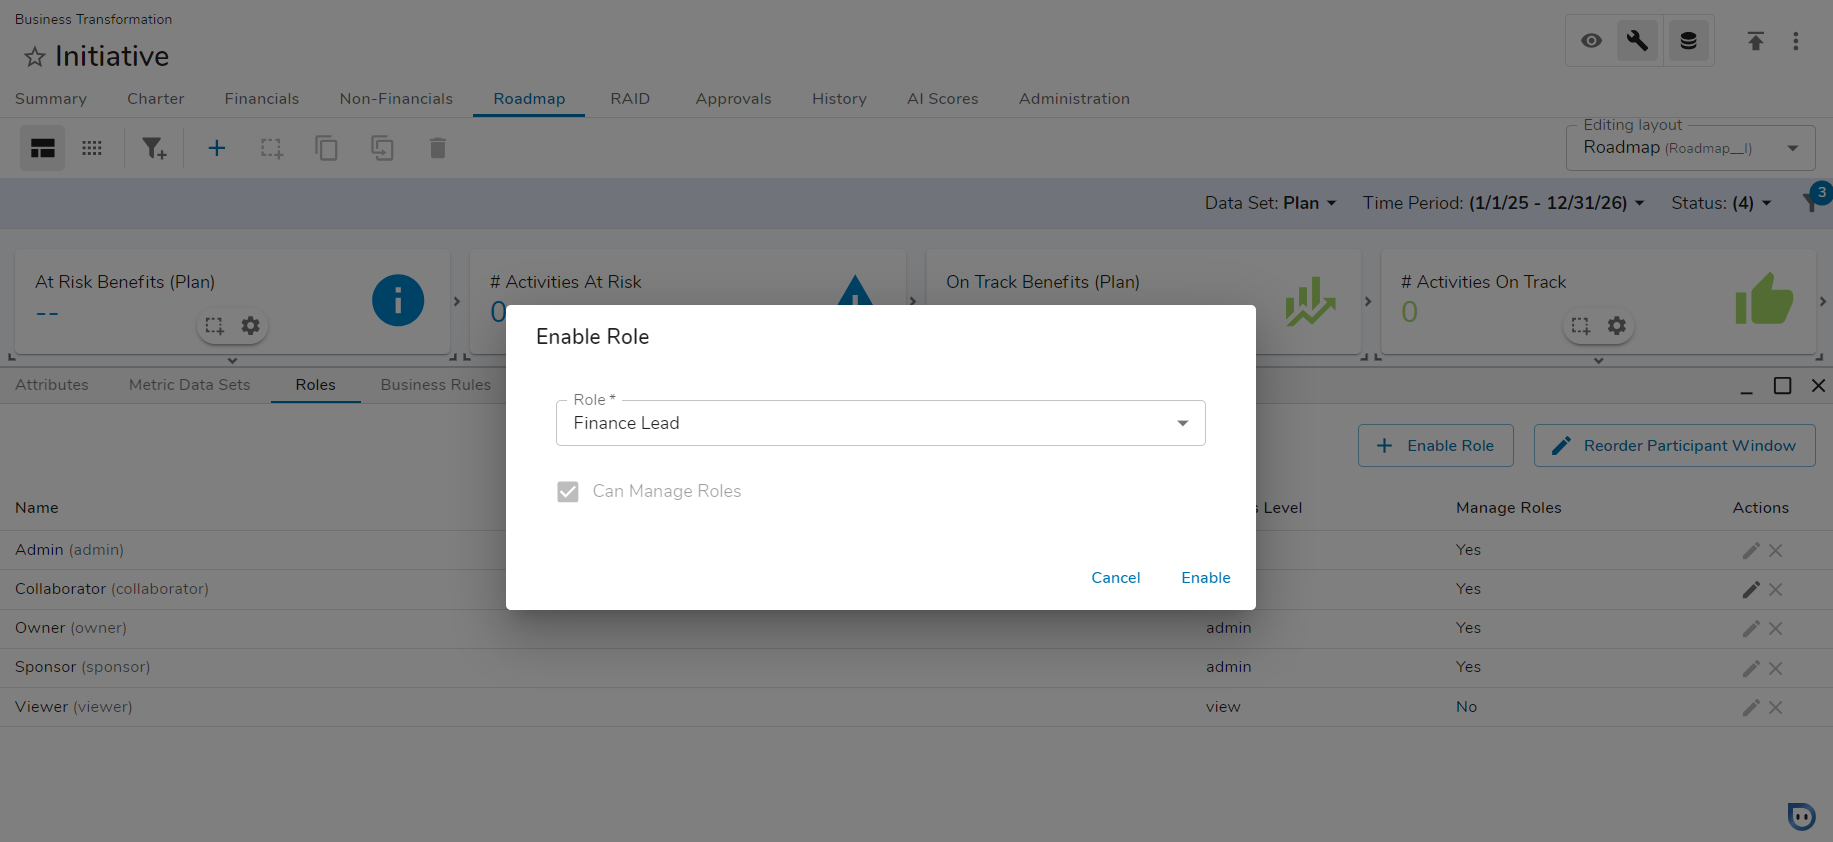
- App admins can select which roles to enable for the template by clicking Enable Role button and selecting an available role (defined at the App level) from the dropdown. Once the template is published, the enabled role becomes available in the Participant Window on instances of the template.

- The Manage Roles option determines whether users holding the role can assign and remove users to and from other roles.
- Roles with admin level default access are always able to manage roles.
- Roles with view level default access are never able to manage roles.
- If a role with edit level default access is defined to be able to Manage Roles, holders of that role can add/modify/remove users from any role defined with edit or view access. They will not be able to add/modify/remove users in roles defined with admin access.
- The order of roles listed in the Participant Window can be defined on the template Data panel as well. Click Reorder Participant Window and drag roles to reorder. Click Update. The first role with edit rights will be the default in the Participant Window role dropdown.
Please visit our Roles course within Shibumi University for more information.
