
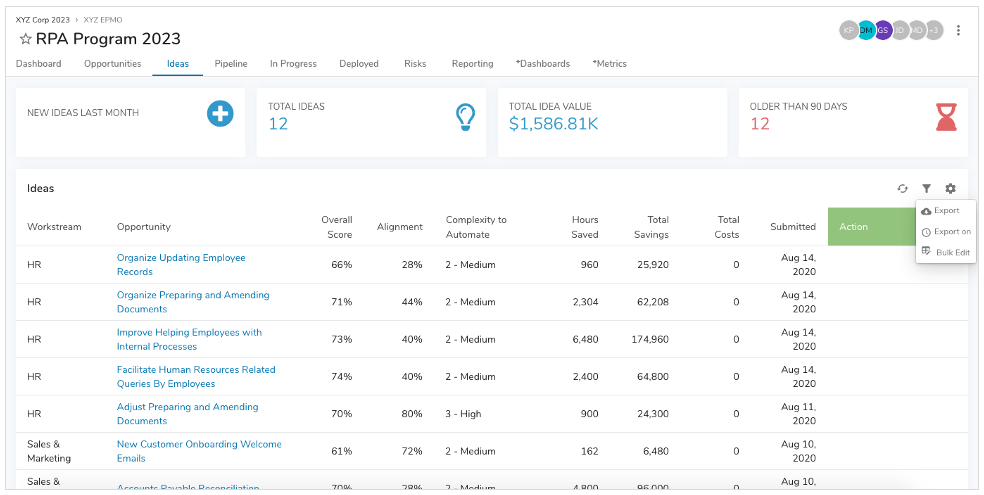
When selecting the Settings gear icon on a List/View section on an Instance, you may see three options: Bulk Edit, Export or Export on.
Note: If Enterprise Administrators have disabled exporting for the enterprise, Export and Export on will not be available.
Bulk Editing Content
To bulk edit the content in a list or view, select the Settings gear icon at the top right of the section and select “Bulk Edit” from the drop-down options.
The section will toggle to Bulk Edit mode. You can manually edit the rows of data or you can paste in rows of data from a CSV file (e.g., Excel). The column order and data types of the CSV file must match the column order and data types of the list or view in Shibumi.
Existing content will be updated with the pasted values.
For Lists, users can also add additional rows of content. When this is pasted into Shibumi, new work items will be created for each row that was added.
Exporting List/View Content
Shibumi allows users to download List and View content as a CSV file either manually or via a scheduled export.
To manually export data from a List or View, simply select the Settings gear icon at the top right of the section and select the Export option.
A message briefly appears at the bottom of the page stating that the export is being generated.
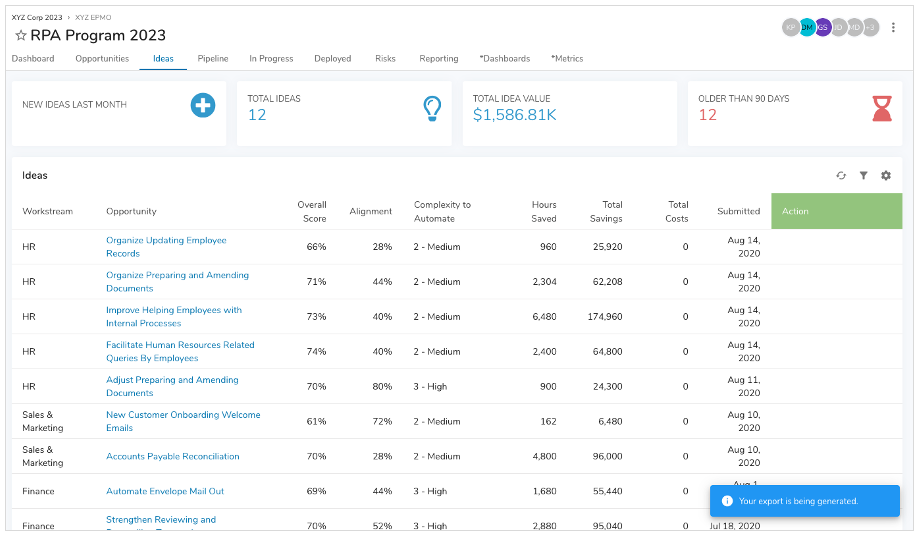
You can continue to work and to navigate to other pages within the solution while the export is being generated. When the export is completed, a new message is displayed at the top of the page with a link to download the file.
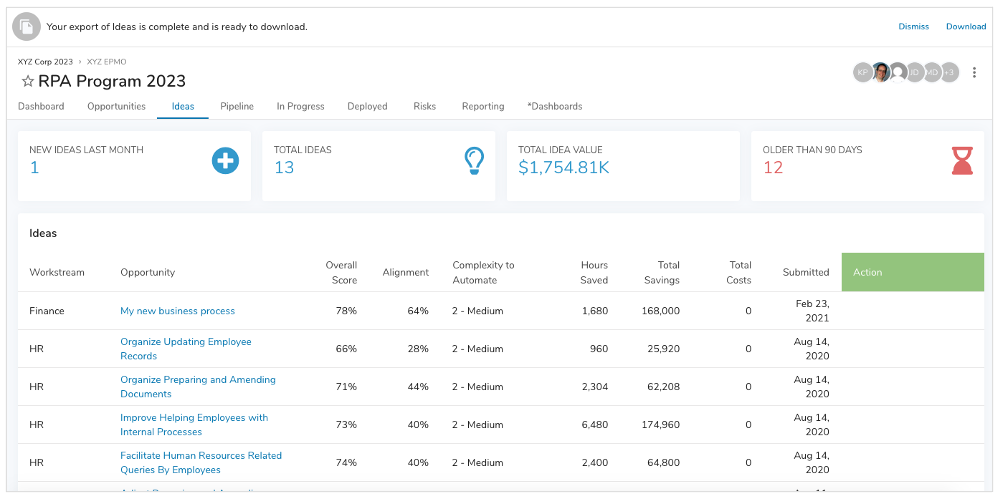
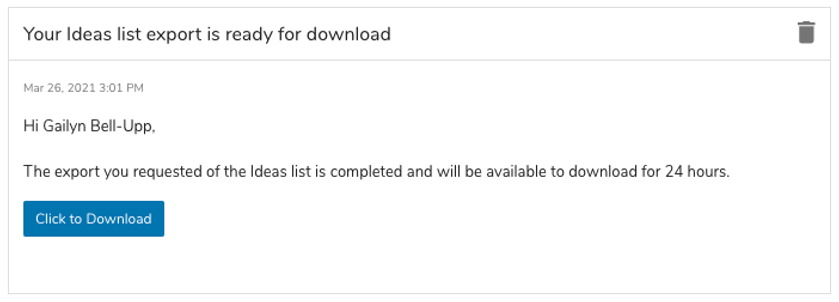
Additionally, you will receive an email notification with a download link. The emailed link is available for 24 hours. You will see the email in your email application but you’ll also be able to review it through the Shibumi Notifications queue (accessible from the navigation side bar).
When you open the exported CSV file, the structure of the columns will match the structure from the List/View. Exported content will respect all filters except the Limit filter (e.g., the export will include all items that match the other filter values).
Note: A user can change their export settings in their personal user profile.
Scheduled Exports
To schedule an export from a List or View, select the Settings gear icon at the top right of the section and select the “Export on” option. In the scheduling dialog, configure a start date and time, cadence (weekly or monthly), and frequency (e.g., every 2 weeks on Friday).
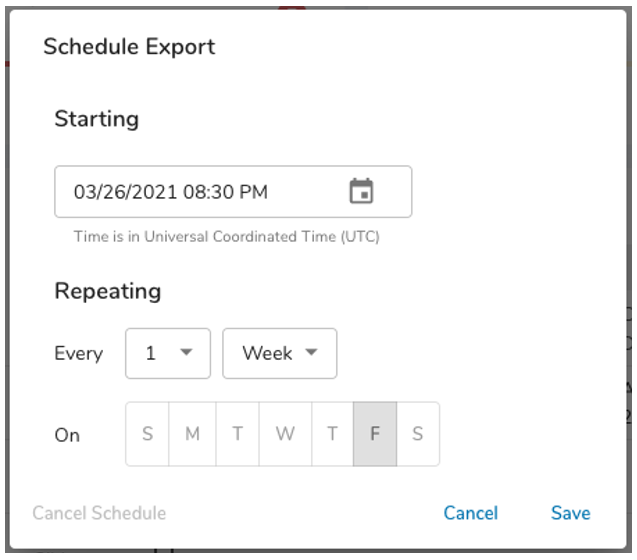
To cancel a scheduled export from the section, open the scheduling dialog and select Cancel Schedule in the bottom left corner.
When a scheduled export runs, it only takes locked filters into account.
Exports can only be scheduled when the Type filter is locked. If a type filter becomes unlocked after scheduling, the export will not complete. You will receive an email when a scheduled export cannot be executed.
To view all of your existing scheduled exports, go to your Account page by hovering over the user icon in the Navigation Sidebar and selecting Edit My Account. Click the X next to the export to cancel it.
Note: Scheduled exports are only available 24 hours after they are run.