Overview
Work items are a place to review and add solution information. They are made up of Tabs, Sections, and Discussions.

Tabs

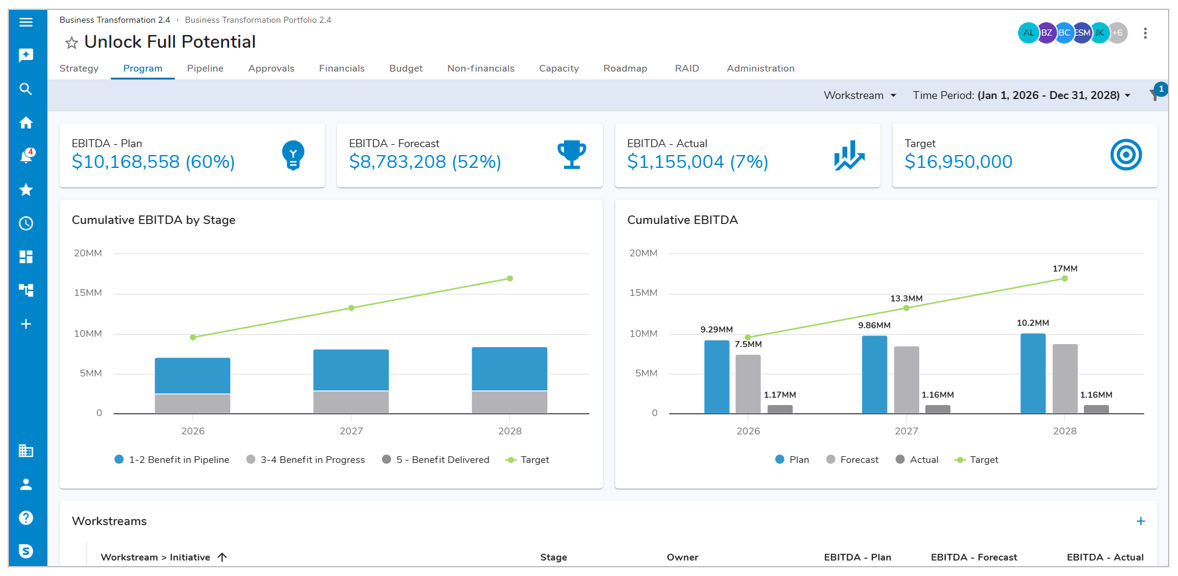
Select a Tab to view other pages within a work item. Select the left and right arrows to navigate through the available Tabs. The first Tab is only the Tab available in the Preview Panel.
Sections on an Instance
Tables
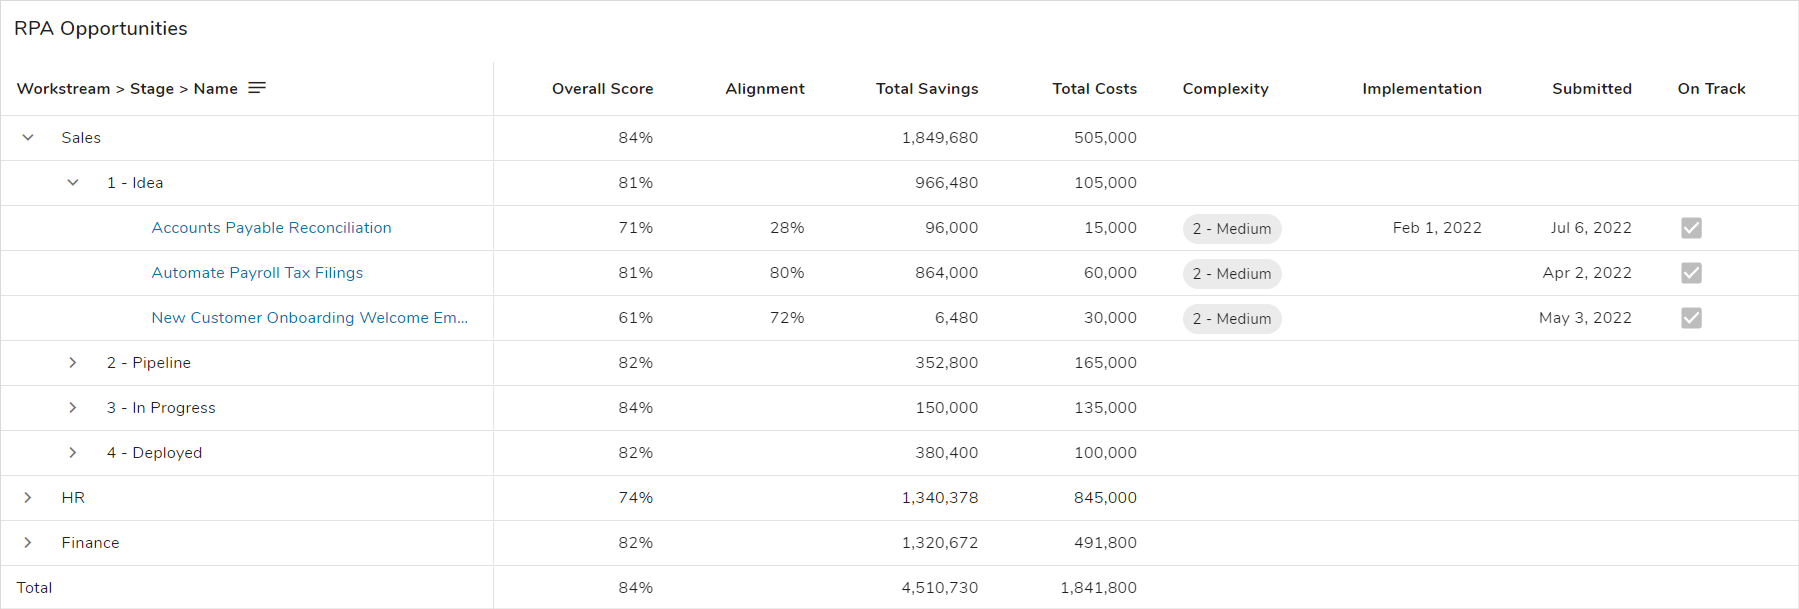
Table sections provide a view of work items (i.e., instances on a template) or Metrics, resulting in an extremely performant view of vast amounts of data. Tables can be added on any Layout: template tabs, dashboards, or presentation slides. Work item names, associations, and hyperlink attributes link to their content. Editing and creating new items may be available if configured by an Admin. For additional information refer to the Utilizing Table Sections article.

Boards
Board sections allow for performant, interactive visualization of work items. Using a Board section allows for visual depictions of work at various stages of a process, using cards to represent work items and columns to represent options in a pick list. Doing so allows you visibility into the work being done and the ability to easily track and manage workload balance.
Any changes made to the Board section’s cards via the drag-and-drop functionality are instantly updated as such within the rest of Shibumi. No refresh is required. For additional information refer to the Board Section article.

Lists & Views
List sections give visibility into a work item and provide the ability to create new child work items simultaneously.
View sections display existing content from a work item. The View defaults to the context of the current work item, intelligently displaying only child work items.
For more information on Lists & Views, please refer to the Utilizing List/View Sections article.
Export/Import
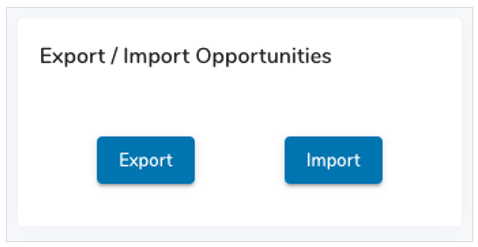
The Export/Import section allows for the ability to download an Excel file of work items (i.e., instances of a specified template type) as well as importing the edited file to update and create records within your solution.

Exported files will contain columns configured by an admin, as well as three system columns (ID number, template API name, and parent work item name). These system columns should never be edited, as they are used by Shibumi to identify which records to update upon Import.
For more information on utilizing Export/Import sections, please refer to the Export/Import article.
Create Form
The Create Form section can be used to either create new child work items (e.g., creating a new Initiative under a Workstream, in a solution where Initiatives are a Child Type of Workstreams) or associated work items (e.g., creating a new Initiative from a Region, in a solution where Initiatives have associations to Regions).

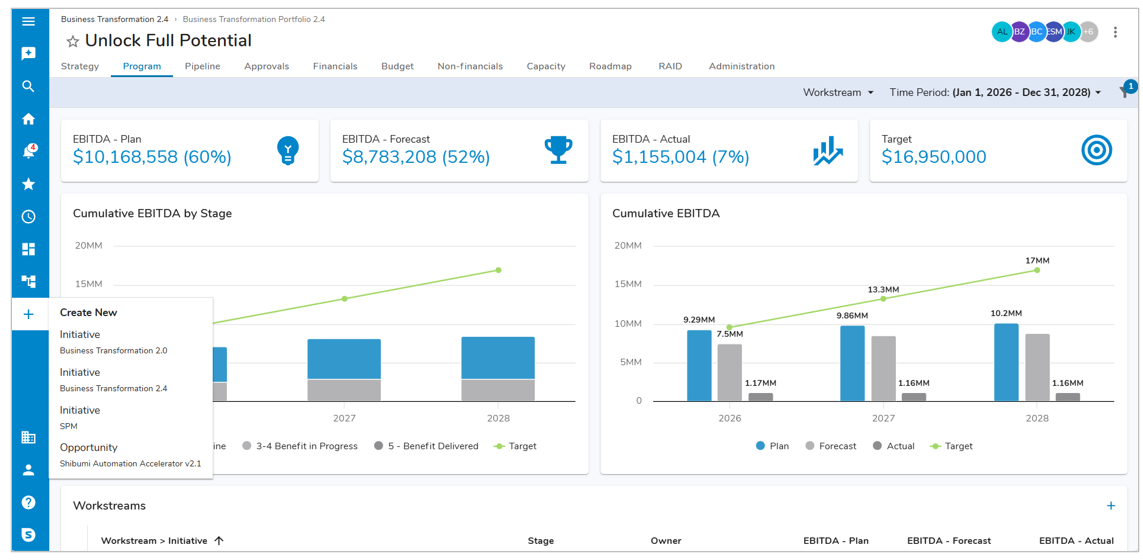
Additionally, this functionality is shared with our Create button in the Sidebar that becomes available when an Admin configures it. While this requires a different configuration, they function very similarly and provide the ability to create a work item from any level in your solution.
Edit Form
An Edit Form, otherwise known as a Form section, displays fields that are used to collect and maintain critical and strategic program data. In addition, Table sections can be configured to utilize Edit Forms to edit work items.
Page Filters
Page filters can be configured on Template and Dashboard layouts and tied to specific sections so all sections on a page react to the same filter values. Currently, there are five types of Page filters available.
- Dropdown Filter: a static list of options.
- Work Item Filter: displays a list of work items that dynamically updates as items are created or deleted.
- Date Filter: select a single date via a calendar.
- Date Range Filter: select a range of dates.
- Data Set Filter: select a configured data set to toggle data to display a different set of data.
For more information, please see the Page Filters article.
Discussions
Discussions may be available at the bottom of a work item tab if included by solution admins. Collaborate with other participants through Discussions. You can participate on a work item’s Discussions as long as you have at least Viewer access.
If the Lock icon is set to Public, all participants with an explicit role on the work item will see your comment. Participants with Notifications enabled on their Enterprise will also receive a Notification.

