
Overview
In Shibumi, data is tracked through values defined for attributes and metrics. Attributes and Metrics are created and maintained on the Data Panel. The Data Panel can be launched from both template Configure and Display modes, allowing seamless management of data when customizing a template.
Creating Attributes and Metrics
To add an attribute or a metric to a template, navigate to the template and open the Data Panel. Click Create Attribute and select the type of attribute to create.

- Association: A query field that creates an association between instances of this template and instances of another template. See Configuring Associations for more details.
- Attachment: An attachment can be anything from an image, PDF, document, and everything in-between. The attachment will function as a downloadable hyperlink.
- Checkbox: Displays as a checkbox for collecting data with only two options (true/false).
- Color: An out-of-the-box attribute which allows you to define a unique color (hexcode) for each individual work item to be displayed in various sections.
- Date: Define a date to reference. (Optionally) Enable Data Sets for the attribute.
- Hyperlink: URLs appear as a linked icon. Choose whether the link should open in the same browser tab or a new one.
- Metric: Choose the unit of measure, period of measure, and target direction. See Configuring Metrics for more information.
- Number: Select the format (number, percent, or specific currency) and the number of decimal places to display. (Optionally) Enable Data Sets for the attribute. See Configuring Number Attributes for more details.
- Pick List: Select the type (single select, multi select, name/text value, name/numeric value, icon/name/text value, icon/name/numeric value) and add available options. See Configuring Pick Lists for more information. (Optionally) Enable Data Sets for the attribute.
- Text: Define whether it will be a single or multi line field and the maximum number of characters allowed.
Attribute Setup
When creating a new attribute, there are a few key configuration options depending on the type of attribute being created.
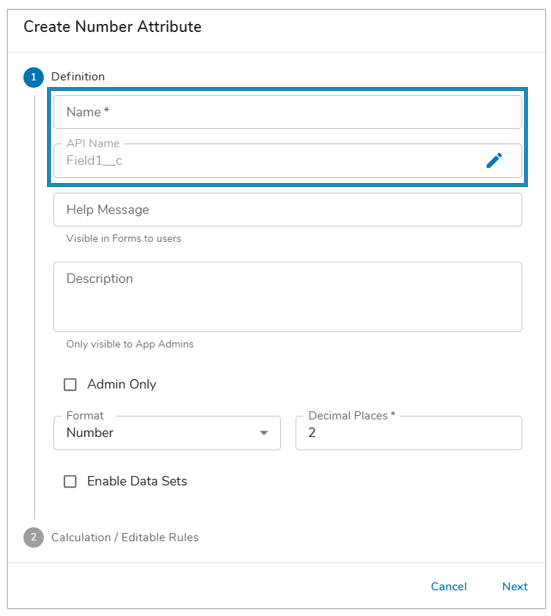
- For each attribute type, you must define a Name which will then retroactively define the API Name for the attribute. (Optionally) edit the API Name as needed.
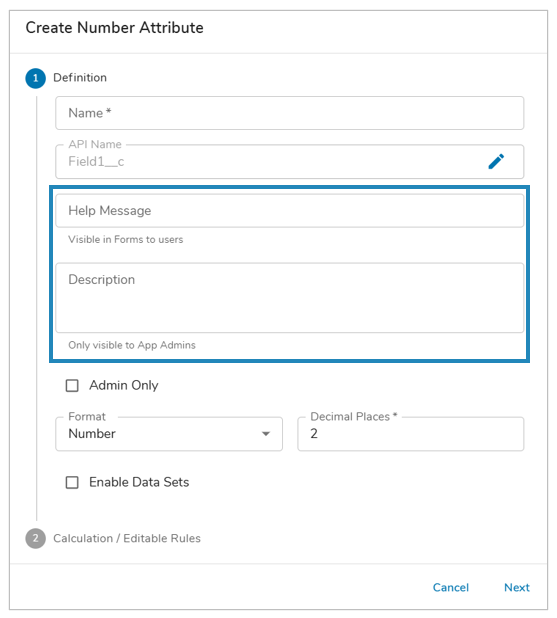
- For each attribute type, you can define a Help Message to display for the field. Additionally, a Description can be applied to the attribute for solution documentation which is only visible to App Admins.
- For each attribute type, you can define the attribute’s inclusion in dashboard/presentation configurations by checking the ‘Admin Only‘ checkbox. In doing so, only App Admins can see the attribute within Add Field / Add Column / section configuration dialogs.
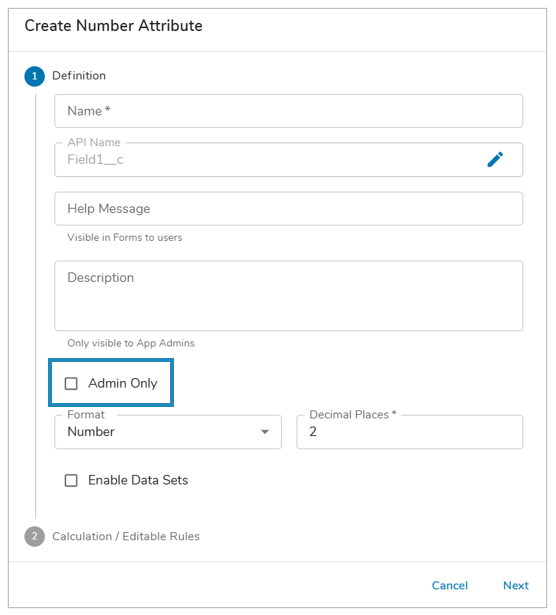
- i.e.; If an end user creates a dashboard and adds a View, Admin Only attributes would not be available in the Add Column dialog.
- Note: Out-of-the-box attributes cannot be set to Admin only.
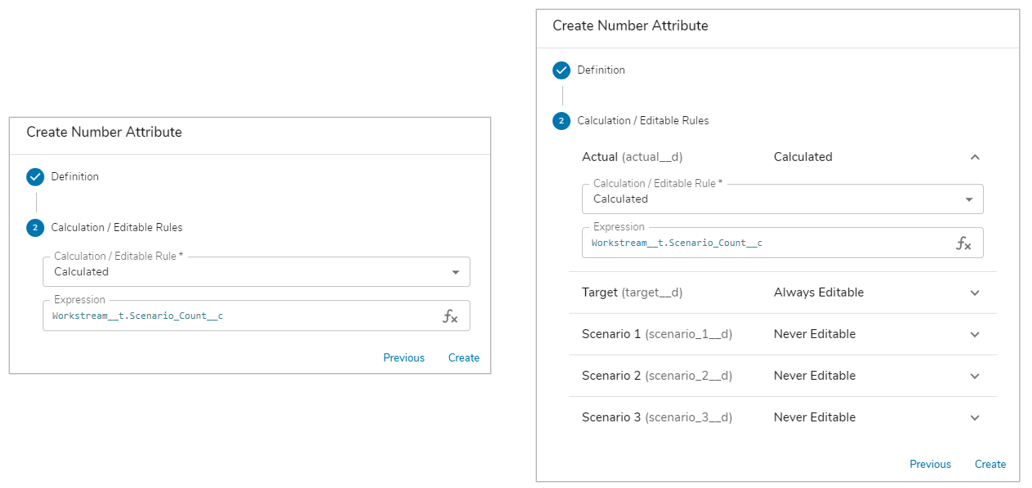
- For Number and Date attributes, you can choose to enable data sets for the attribute. The attributes would contain all App-enabled data sets for further value collection. Enabling data sets for the attribute allows you to configure editability rules or calculations for each data set on the attribute.
- The screenshot below outlines the differences in configuration for the Calculation / Editable Rules between an Attribute that does (right) and does not (left) have Data Sets enabled.
- The screenshot below outlines the differences in configuration for the Calculation / Editable Rules between an Attribute that does (right) and does not (left) have Data Sets enabled.
- For Custom Text, Number, Checkbox, Date, Association and Hyperlink fields, you can also enter a calculation to automatically define the value. See Calculated Attributes for more details.
- For Associations, you must select the template type with which to associate. See Configuring Associations for more details.
Actions on Attributes and Metrics
These are actions that can be used on singular Attributes and Metrics from the Data Panel. All singular actions are accessed via the buttons under the Actions column for an Attribute or Metric.
Editing Attributes and Metrics
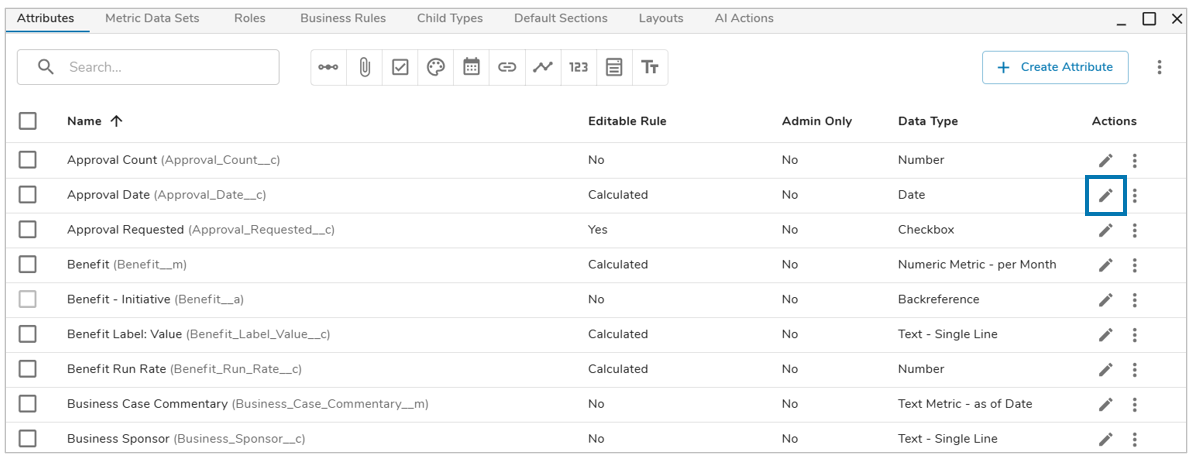
To edit an attribute or metric from a template, click on the edit (pencil) icon in the Actions column on the Data Panel to launch the attribute settings dialog. From there, you can edit any aspect of the attribute or metric.
Notes:
- The template location in which an Association is derived cannot be changed after creation.
- On a Date or Number attribute, enabling/disabling data sets will cause the “Calculation / Edit Rules tab to change. If you have a calculated value for the attribute, enabling data sets will cause the calculated expression to be inserted into the ‘Actual’ data set.
Use the Search field to search for a specific attribute, and/or use the type toggles to filter the attribute list down to a specific type of attribute.

Duplicating Attributes and Metrics
Attributes and Metrics can be duplicated on the same Template via the Data Panel.
- Identify the attribute/metric you would like to duplicate on the template.
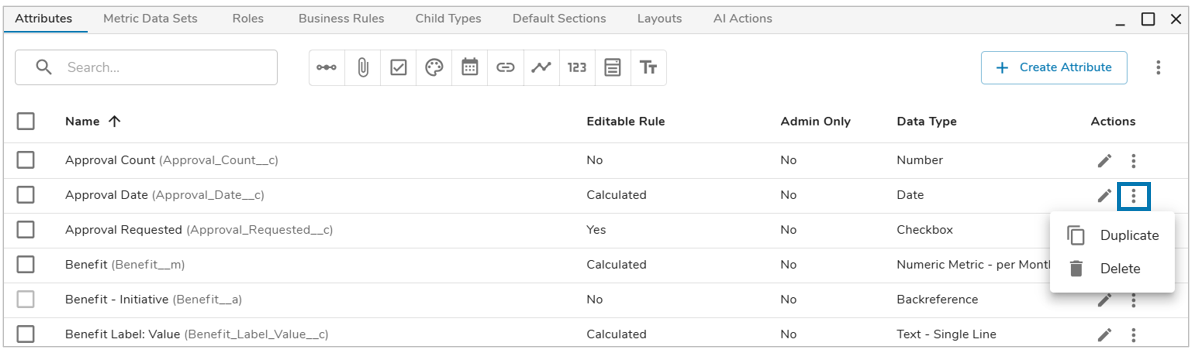
- Select the More Actions ellipses under the Actions column of the Data Panel.
- Choose the Duplicate option, the Duplicate Attribute dialog will appear.
- Enter the new name of the attribute/metric in the Name field. The API name will be auto-generated based on the Name, but can be manually edited.
- Upon selecting ‘Copy’ you will be met with a success banner notification indicating the attribute/metric was duplicated. You can view the duplicated attribute in the Data Panel immediately.
Note: You can tell whether you are duplicating an attribute or metric based on the default API Name when the Duplicate Attribute dialog appears, as described below:
- Attribute API Name – Field1_c
- Metric API Name – Metric1_m
Deleting Singular Attributes and Metrics
In order to delete a custom attribute, toggle to the Data Panel. Find the custom attribute you want to delete in the list of Attributes. Click on the More Actions option from the Actions column and select the Delete option. You will be asked to confirm the deletion.
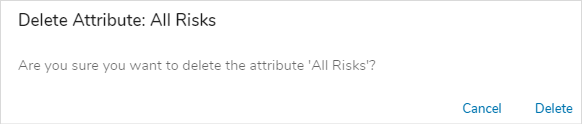
Note: You can only delete custom attributes from the Data Panel, and they cannot be recovered after deletion.
Bulk Actions on Attributes and Metrics
These are actions that can be used on multiple Attributes and Metrics via the checklist on the Data Panel. All bulk actions are accessed via the More Actions ellipses to the right of the Create Attribute button.

Copying Attributes and Metrics
Attributes and Metrics can be easily copied to other templates via the Data Panel on a template.
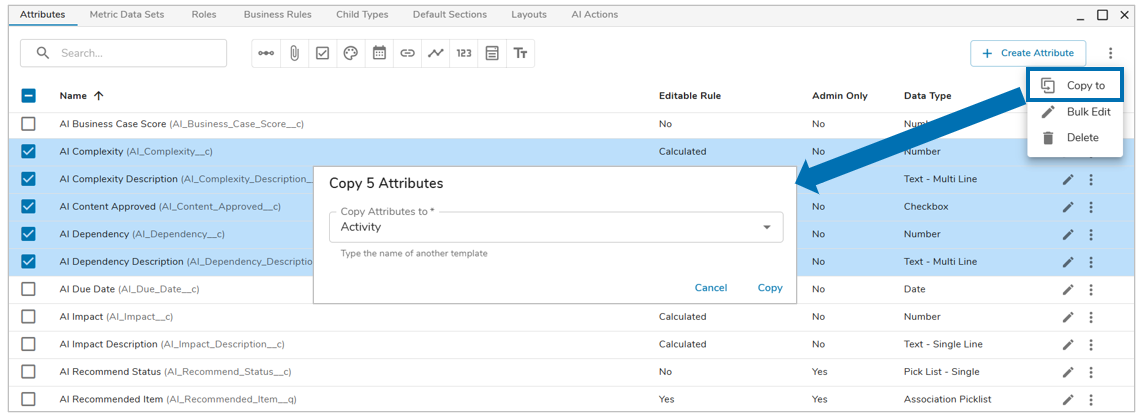
- Using the checkboxes on the left of the Data Panel, you can select one or more attributes/metrics.
- With at least one attribute/metric selected, click on the “More Actions” ellipses and choose the Copy to option.
- The Copy Attributes dialog will appear, either type the name of another template or select one from the drop-down menu. With a template chosen, select “Copy”.
- A success banner message will indicate the selected attributes/metrics were copied to the chosen template.
- Publish the destination template to make the attribute available in your solution.
Note: Out-of-the-box and Association attributes cannot be copied.
Editing Attributes and Metrics
Attribute and Metric descriptions can be edited in bulk directly from the Data Panel, providing a faster way to apply changes across a solution. The Admin Only setting can also be toggled in bulk.
- Open the Data Panel.
- Click on the More Actions button and select the Bulk Edit option.
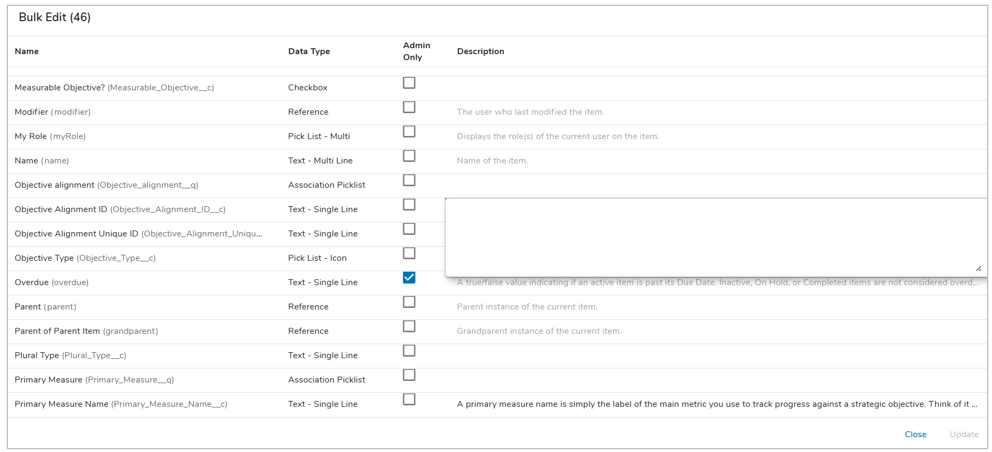
- All the attributes will be listed in the Bulk Edit dialog.
- Click on the Description to edit, or toggle the Admin Only setting.
- Select Update, then Publish.
Note: Out-of-the-box attribute descriptions cannot be bulk edited.
Deleting Attributes and Metrics
In order to delete custom attributes, toggle to the Data Panel. Find the custom attribute(s) you want to delete in the list of Attributes and select them. Click on the More Actions option from the Actions column and select the Delete option. You will be asked to confirm the deletion.
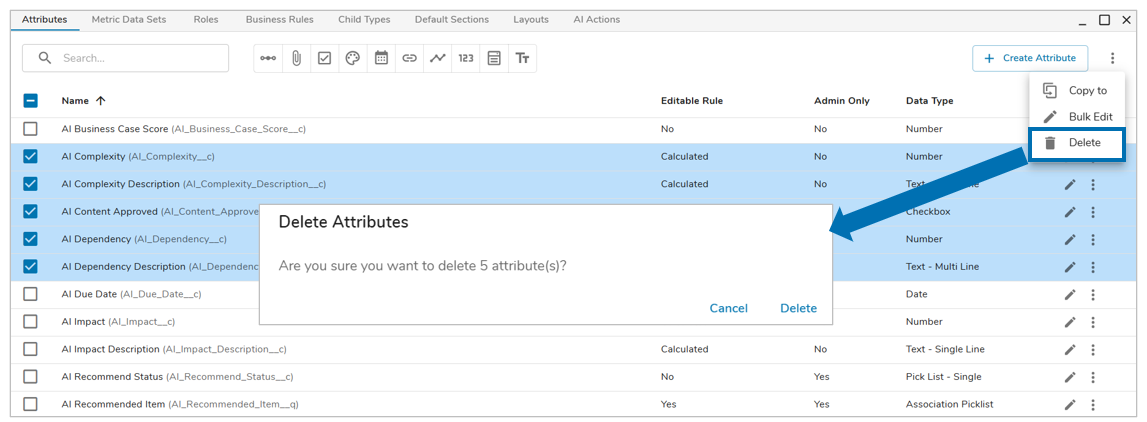
Note: You can only delete custom attributes from the Data Panel, and they cannot be recovered after deletion.