
Overview
On the Sidebar Create tab, App Admins can customize the Create Forms that can be launched from the Navigation Sidebar, allowing users to create new work items.
Adding Sidebar Create Forms
- Navigate to the Sidebar Create tab on your App details page.
- Click the Add Form button.

- Select the intended template from the drop-down menu. Click Next.
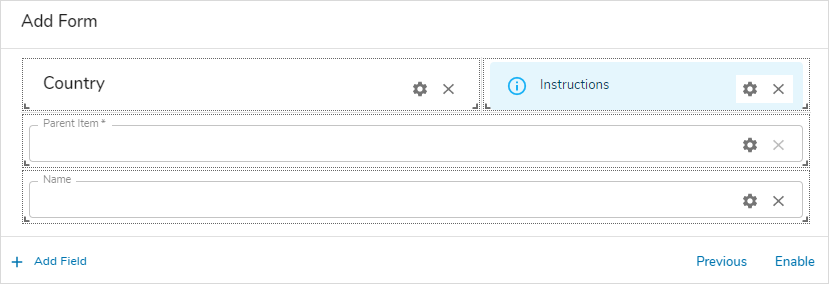
- Configure the Create Form for this template type.
- Parent Item and Name are added by default. Parent is a required field that must be filled out by end users and cannot be removed from the Form.
- Our core Form capability is available when customizing the Form. See Managing Forms for more information on configuring Forms.
- Note: Dynamic Expressions cannot be used for Field Labels or Help Text in Sidebar Create Forms.
- Click ‘Enable’ to add the form to the Sidebar Create menu.
- To edit a Create Form, click the pencil icon in the Actions column.
- To delete a Create Form, click the delete (trash can) icon in the Actions column.
Creating New Items via the Create Menu
Once Forms are enabled within the Sidebar Create tab of an App, you can Create instances anywhere within the App without having to navigate through the solution.
- Start by hovering your mouse over the ‘+’ Create New button on the Sidebar. This will open the selection of enabled forms.
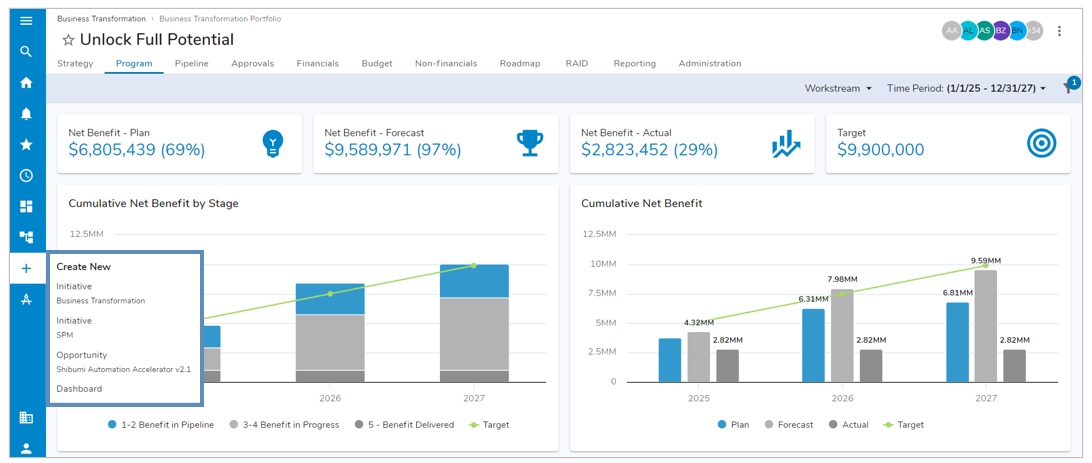
- Note: You can select this option as well to open a list of them within the Sidebar rather than a fly-out menu.
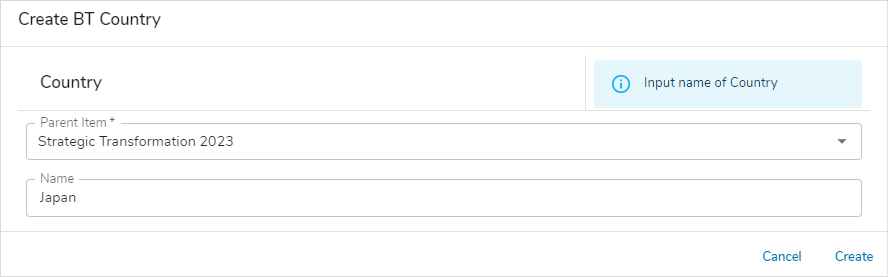
- Once a selection is made, the Create Form for the assigned template will appear in a dialog. Fill out the necessary information and select ‘Create’. For the creation of work items lower in the hierarchy than the current location, the grandparent must be defined as well.
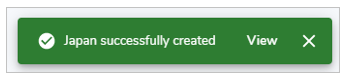
- A green notification will appear in the bottom of the screen to announce that an item was successfully created. Click ‘View’ to navigate to the item, you can also select the ‘X’ to dismiss the notification.
Note: Top-Level Instances cannot be created from Sidebar Create.