Overview
Presentations are a great way to streamline the effort needed for the cadenced-based reporting required to keep key stakeholders up-to-date on the progress of your program.
No more weekly/monthly/quarterly tasks to chase updates from initiative owners, then copy and paste from spreadsheets and emails to finally, aggregate content into a slide deck! With Shibumi’s presentations, you’ll define the presentation once and the data included in it will always reflect current, real-time information from your program.
A few key points about Presentations:
- The presentation mode capability allows you to share the slides, full-screen, directly from Shibumi.
- When preparing for a presentation, you can “lock” the slide to prevent it from receiving the real-time data updates. This ensures you won’t see surprise data when you are delivering your update to your stakeholders!
- Presentations can be published as a PDF and downloaded to your desktop.
- Published versions of presentations provide point-in-time snapshots of Shibumi data.
- Presentations support hotkeys, allowing easy switching between edit modes:
- Display – q
- Configure – w
Create Presentation
To create a presentation, click on the plus (+) button on either the out-of-the-box Presentations tab or from a Presentation List section. After naming your new presentation, click into it to begin defining your presentation slides.

Add and Configure Slides
When you open the presentation, a format bar is displayed at the top of the page and viewing options are available in the footer.
Add slides to the presentation by selecting the plus (+) button at the far left of the format bar. A dialog will be displayed allowing you to define the context of slide to be added and add a slide name.
To create a blank slide with content sourced from the current instance, simply add a slide Name and click Create. When you want to add a slide with content sourced from another instance, select the work item from the top dropdown, then add a Name and click Create.
- Current Context slide: an empty slide that can be formatted based on the current work item under which the presentation resides. To create, name the slide and select Create.
- Other Context slide: an empty slide is added that is in the context of another work item. To create, search for the work item and choose it from the list, add a name and click Create. This slide’s data will now be derived from the selected work item, including unique attributes only present on that work item’s template, which can be added to Forms.
Customize slides by selecting Configure mode then Add Section.
You can easily rename slides by selecting the pencil icon on the format bar, you cannot change the context of a slide once it has been created.
Notes:
- Presentations can be shared with web links and a PDF download.
- While Lists are available to be added to slides, the best practice is to include Table and View sections rather than Lists.
- Two stacked sections both set to Fit to Window will cause publishing issues; avoid this configuration.
Copy and Delete Slides
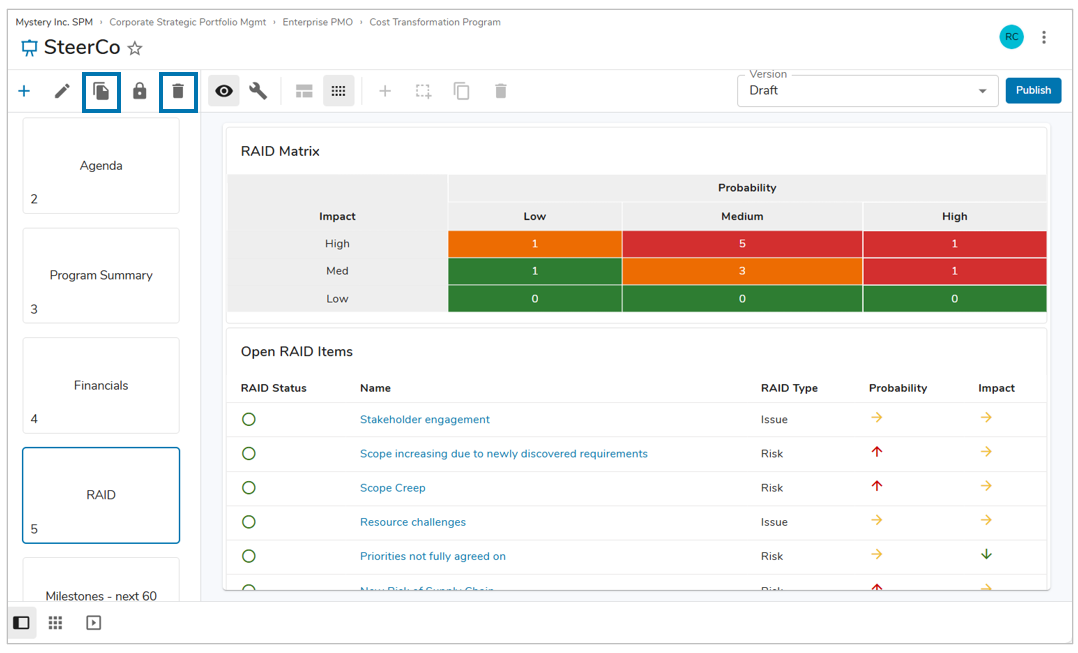
Slide Duplicate and Delete options are available on the presentation format bar.
Once you format your slides, you may quickly duplicate them by selecting the Duplicate Slide icon. This creates a copy of your slide and inserts it into the presentation. Additionally, you can delete a slide by selecting the Delete Slide icon.
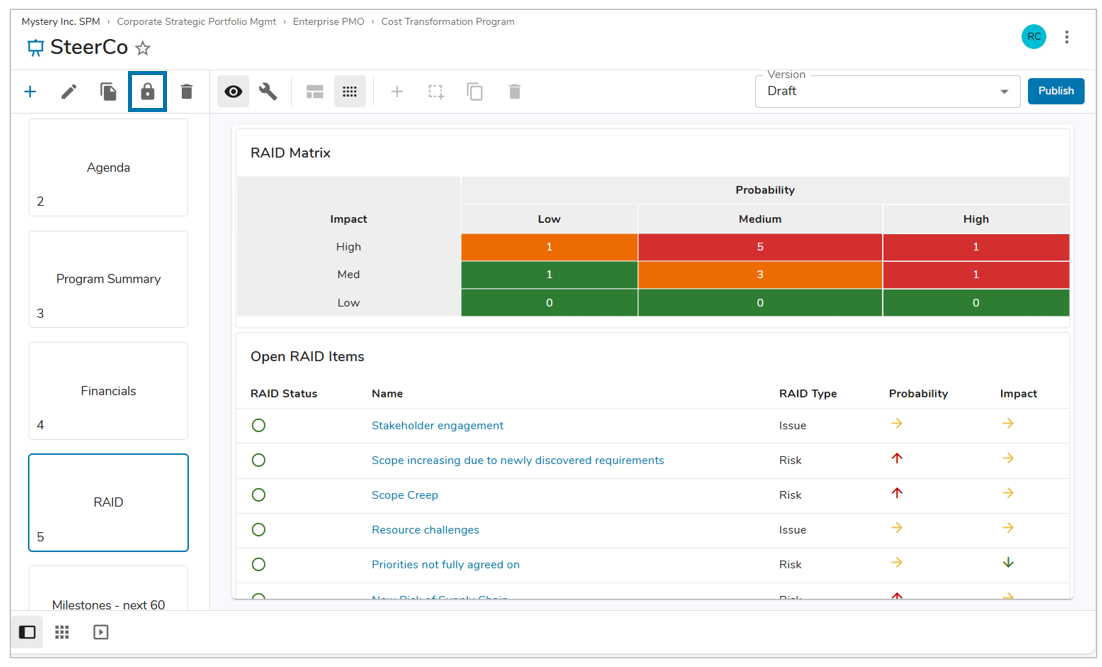
Lock Slides
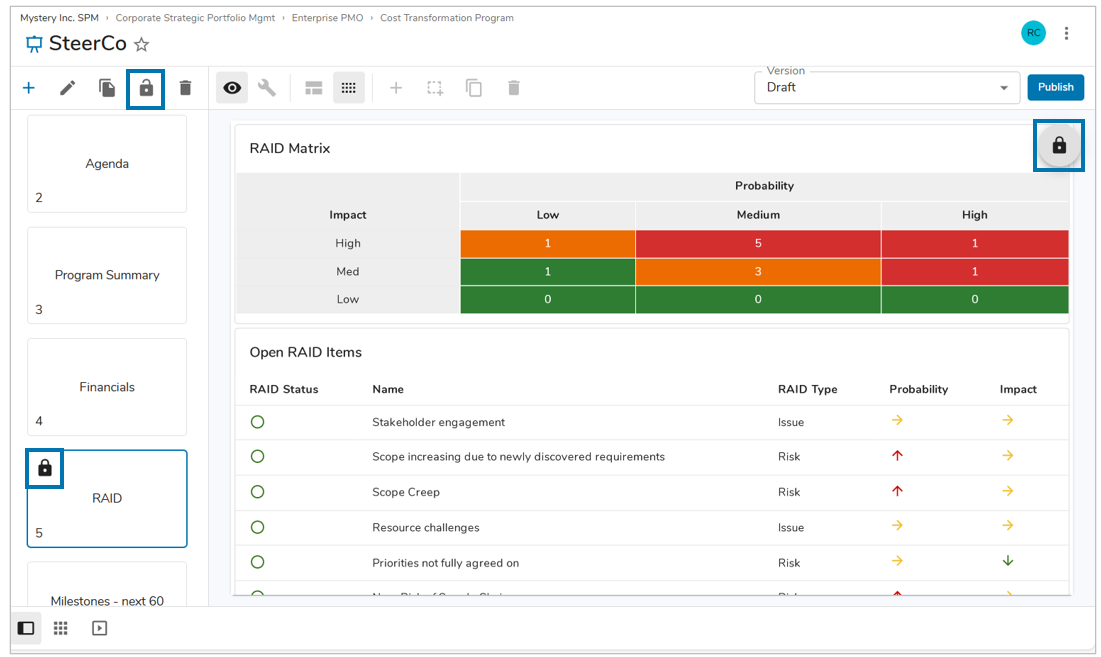
While preparing your presentation, you can lock individual slides by clicking on the Lock icon from the format bar. When a slide is locked, the data on it will not be updated.
When a slide is locked, the slide thumbprint will have a lock icon displayed on it. Additionally, the Lock icon on the format bar will toggle to display an Unlock icon.
Publish Presentation
Publishing a presentation produces a PDF file of your presentation content. The PDF can then be downloaded to your desktop. This feature provides two main purposes:
- To easily share the presentation with stakeholders
- To define a snap-shot-in-time of your program data
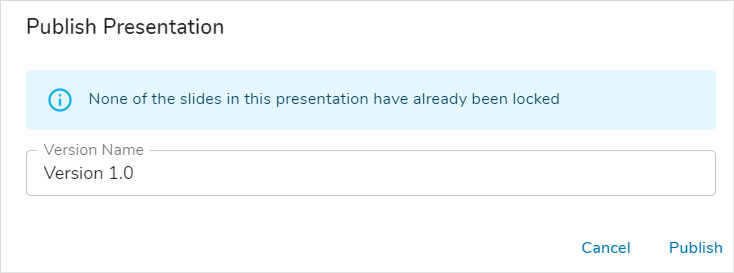
Click the Publish button on the top right of the format bar to initiate the publish. You will be prompted to name the version (your original working presentation will be named Draft by default).
Note: The first step in the Publish process is to lock the slides. When you initiate the Publish process, the dialog window prompting for the published Version Name will also include a message indicating how many slides in the presentation have already been locked.
Once the publish process is completed, the new published version is available on the Version pick list on the format bar.
- To display the published version in presentation mode, select the Present viewing option in the footer of the page.
- To download the published version, select the Download button on the format bar
- To delete the published version, select the Delete Version icon at the far right on the format bar
Notes:
- Downloading published presentations may not be available in your solution.
- The Delete Version option is available for individual published versions. To delete the full presentation, select the Delete option from the Action Menu at the top right of the page. If you delete the full presentation, the Draft presentation and all published versions will be deleted.
Move or Copy Presentation
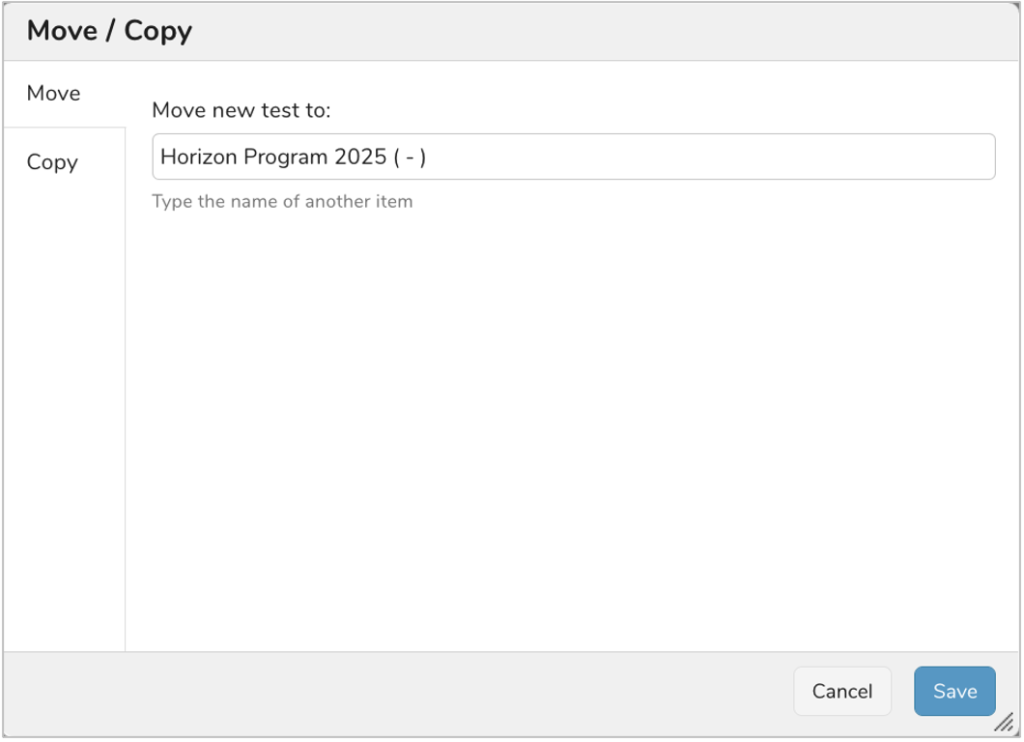
Just like any other work item in Shibumi, presentations can be moved or copied. From the:
- Presentation itself: select the Move/Copy option from the Action Menu in the upper right corner
- Presentation tab: select the check box for the presentation to be moved/copied and select the Move/Copy option available on the floating menu
The Move/Copy dialog window will be displayed. Specify whether you are moving or copying. If Move, enter the name of the destination work item. If Copy, enter the destination work item and the new name of the copied presentation. Click Save. The newly moved/copied presentation will be displayed.