Overview
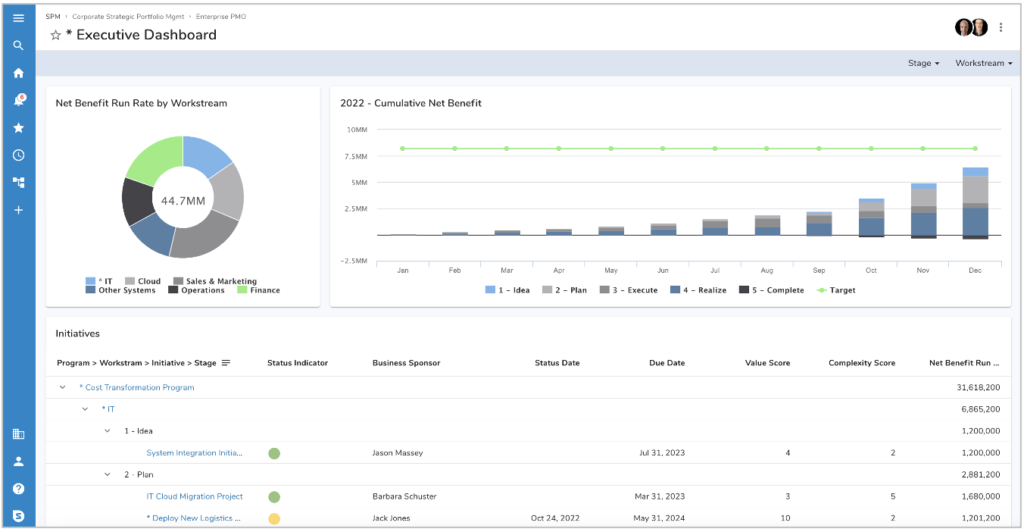
Dashboards provide an at-a-glance view into the relevant goals, metrics, initiatives, etc., being tracked in your Shibumi solution. They are easily configurable and allow quick access to important status updates and next steps.
A few key points about Dashboards:
- They can be configured to provide a summary of key program metrics and information
- They can configured to include page filters to quickly filter the content to be displayed in all sections of the dashboard
- They can be used to help with program administration (e.g., to bulk load or bulk-update data)
- They can be included on a Presentation slide
- They are often defined to become the enterprise or personal homepage for users
- They support hotkeys, allowing easy switching between edit modes:
- Display – q
- Configure – w
- Design – e

Create Dashboard
To create a dashboard, click on the + button on either the out-of-the-box Dashboards tab or from a Dashboards List section. Name the dashboard and click the Create button, you will be immediately brought to the new Dashboard.
Configure Dashboard
Once you’ve been brought to the dashboard, edit mode icons will be displayed to the left of the Participant avatar circles. You will be defaulted to the Design mode and a format bar will be displayed at the top of the page.

In Design mode, you can start adding sections to the dashboard by selecting the Add Section option on the format bar. When you have finished configuring the dashboard, select the Finish Configuring option from the Action Menu to see the dashboard displayed as other users will see it.
To Rename a dashboard, select the Rename option from the Actions menu.
Notes:
- When configuring the design of your dashboard, consider the recommendations included in the Best Practice – Sections article.
- Users can be invited to see a Dashboard without having access to any other work items in the program. For these users, if they click a hyper link on the dashboard, they will be notified that they do not have permission to see the work item.
Move or Copy Dashboard
Just like any other work item in Shibumi, dashboards can be moved or copied. From the:
- Dashboard itself: select the Move/Copy option from the Action Menu in the upper right corner
- Dashboards tab: select the check box for the dashboard to be moved/copied and select the Move/Copy option available on the floating menu
The Move/Copy dialog window will be displayed. Specify whether you are moving or copying. If Move, enter the name of the destination work item. If Copy, enter the destination work item and the new name for the copied dashboard. Click Save. The newly moved/copied dashboard will be displayed.
